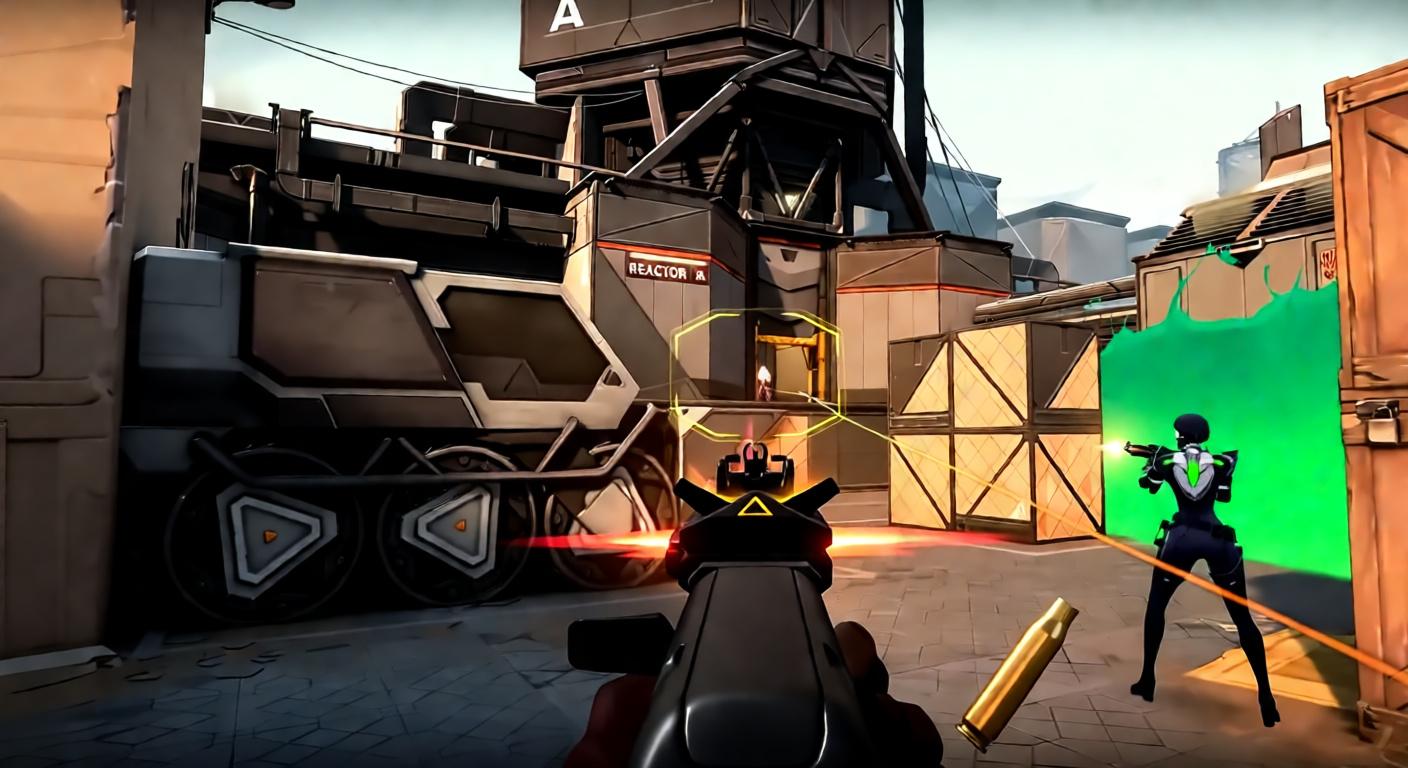
This guide covers the best Valorant settings to get you competitive clarity, stable FPS, and responsive inputs. We'll go over everything from graphics and sensitivity to audio and minimap setups. Whether you're starting fresh or just fine-tuning, these recommendations are built on what actually works when you're grinding the ranks. For more on mastering agents, check out our Valorant agent tier list guide.
Optimizing your Valorant best settings is crucial for gaining an edge in competitive play. The right configuration can improve your visibility, increase FPS, and reduce input lag, all of which contribute to better performance in matches.
Quick recommended settings
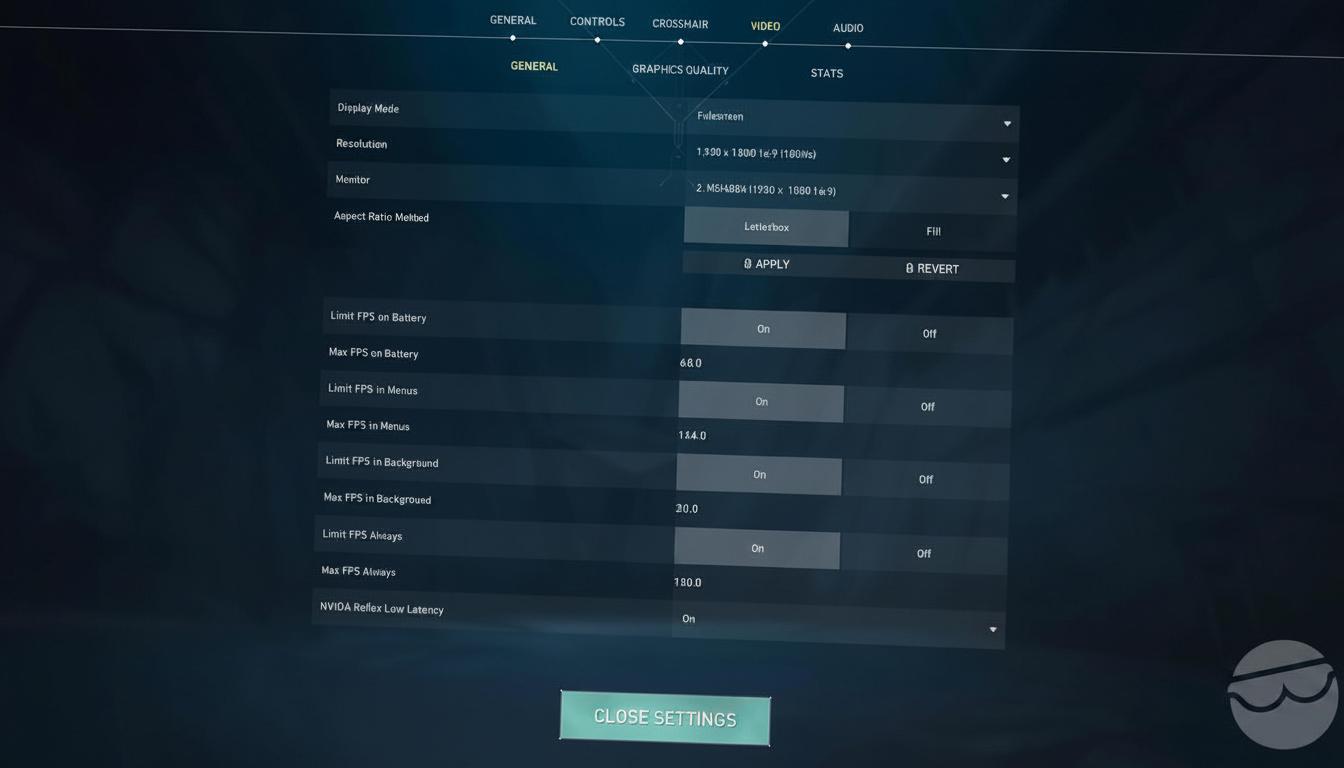
Here is a quick-reference table with the best Valorant settings for competitive play. These choices focus on maximizing visibility, keeping your FPS high, and cutting down input lag.
| Setting | Recommended Value | Notes |
|---|---|---|
| Display Mode | Fullscreen | Minimizes input lag |
| Resolution | 1920×1080 (native) | Use monitor's native resolution |
| Refresh Rate | Highest available (144Hz+) | Set in Windows and in-game |
| Max FPS Limit | Uncapped / Monitor Hz − 3 | E.g., 237 for 240Hz; cap only if overheating |
| NVIDIA Reflex | On + Boost | Reduces input latency |
| Multithreaded Rendering | On | Uses all CPU cores |
| Material/Texture/Detail/UI | Low | Maximizes FPS, reduces clutter |
| V-Sync | Off | Prevents input lag |
| Anti-Aliasing | MSAA 2x or Off | 2x for clarity, Off for max FPS |
| Anisotropic Filtering | 4x or 8x | Improves texture clarity |
| Bloom | Off | Some enable for ability visibility |
| Distortion/Vignette | Off | Removes distracting effects |
| Cast Shadows | Off | Some enable for Viper's Pit |
| DPI | 400 or 800 | Most common among pros |
| In-game Sensitivity | 0.3-0.5 | Adjust for comfort; see eDPI below |
| eDPI (DPI × Sensitivity) | 250-320 | Pro average around 267 |
| Scoped Sensitivity | 1.0 | Consistent aim when scoped |
| Raw Input Buffer | On | Reduces mouse delay |
| HRTF (Audio) | On | Improves directional sound |
| Minimap Size | 1.1-1.2 | Larger for clarity |
| Minimap Zoom | 0.9 | Shows more of the map |
| Minimap Vision Cones | On | Shows teammate sightlines |
| Show Map Region Names | Always | Improves callouts |
These settings give you a rock-solid foundation. From here, you can tweak your sensitivity and crosshair to match your personal preference.
To get the lowest input lag and highest frame rate, always run the game in Fullscreen and keep V-Sync turned off.
Video and FPS settings
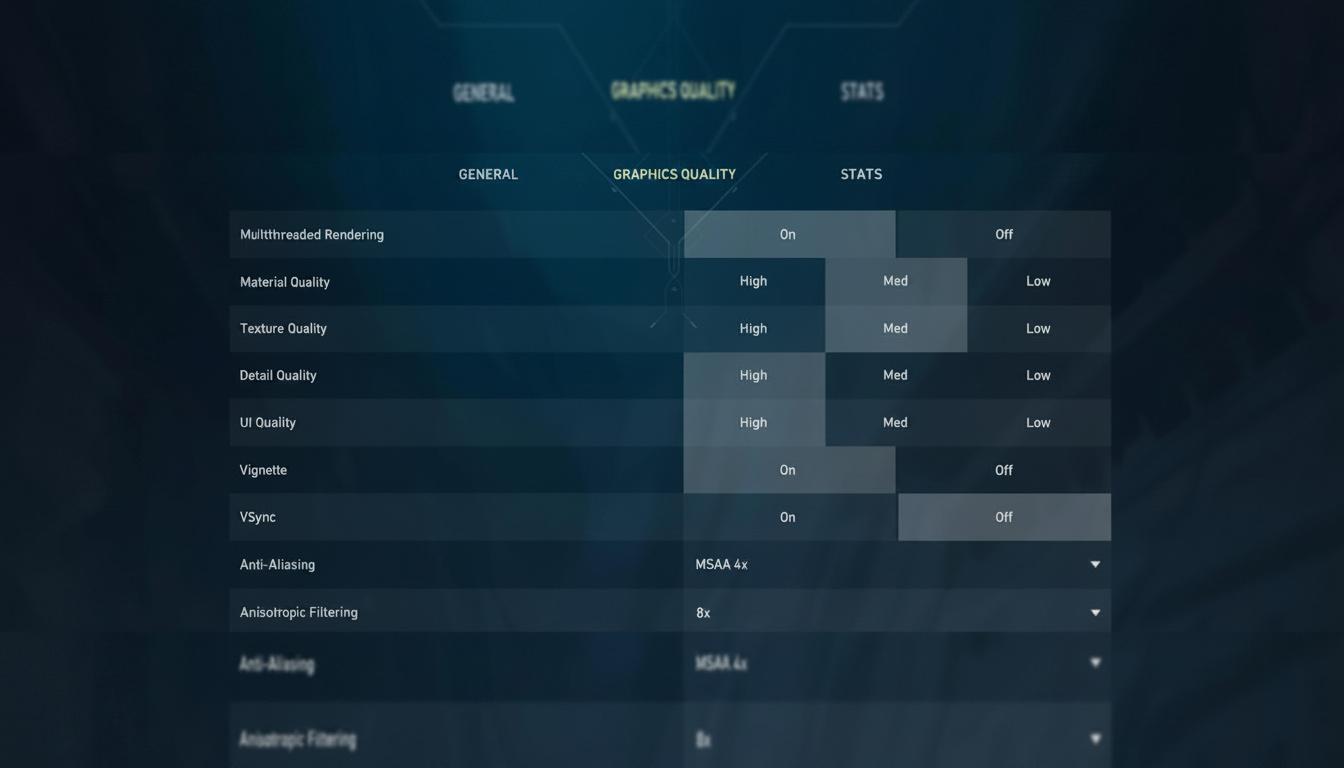
Getting your video settings right is the most important step. These options dictate how many frames you get and how fast the game registers your inputs. The goal here is simple: squeeze out maximum performance and cut the visual noise.
Display and Performance
| Setting | Recommended Value | Notes |
|---|---|---|
| Display Mode | Fullscreen | Reduces input lag |
| Resolution | 1920×1080 (native) | Use monitor's native; lower only if FPS is struggling |
| Refresh Rate | Highest available (144Hz, 240Hz) | Set in Windows and in-game |
| Max FPS Limit | Uncapped / Monitor Hz − 3 | E.g., 237 for 240Hz; cap only if overheating |
| NVIDIA Reflex | On + Boost | Reduces system latency (NVIDIA GPUs) |
| AMD Anti-Lag | On (if available) | For AMD GPUs; reduces latency |
| Multithreaded Rendering | On | Uses all CPU cores |
| V-Sync | Off | Prevents input lag |
Graphics Quality
| Setting | Recommended Value | Notes |
|---|---|---|
| Material Quality | Low | Major FPS impact |
| Texture Quality | Low / Medium | Low for max FPS; Medium if VRAM allows |
| Detail Quality | Low | Reduces visual clutter |
| UI Quality | Low | Minimal gameplay impact |
| Vignette | Off | Removes darkened edges |
| Anti-Aliasing | MSAA 2x or Off | 2x for clarity, Off for max FPS |
| Anisotropic Filtering | 4x or 8x | Improves texture clarity |
| Improve Clarity | On (optional) | May add slight overhead; test for preference |
| Experimental Sharpening | On (optional) | Adds sharpness; disable if not helpful |
| Bloom | Off | Some enable for ability visibility (e.g., Sova darts) |
| Distortion | Off | Removes ability visual warping |
| Cast Shadows | Off | Some enable for Viper's Pit |
Dropping your graphics settings to low is the easiest way to boost your FPS and clear up distractions. Unless your PC is an absolute beast that easily clears your monitor's refresh rate, keep things simple.
NVIDIA Reflex (On + Boost) is a must-use if you have an NVIDIA card. It keeps your GPU clocks high so frames render instantly. If you are on AMD, make sure Anti-Lag is turned on in your driver panel and in-game to get the same latency-busting benefits.
Also, double-check your monitor's refresh rate in Windows. It is incredibly common for high-refresh monitors to default to 60Hz out of the box because Windows didn't auto-detect the hardware, or because you are using an HDMI cable instead of DisplayPort. Always use DisplayPort if you can.
Visibility settings
Optimizing your visibility settings is all about spotting enemies faster. Every extra visual effect is just more clutter your brain has to filter out mid-fight. Strip away the fluff so you can focus on clicking heads.
| Setting | Recommended Value | Visibility Impact |
|---|---|---|
| Material Quality | Low | Removes unnecessary visual effects |
| Detail Quality | Low | Reduces clutter |
| UI Quality | Low | Minimal distraction |
| Bloom | Off (some enable) | Disabling removes glow; some enable for ability highlights |
| Distortion | Off | Prevents ability visual warping |
| Cast Shadows | Off (some enable for Viper) | Disabling simplifies visuals; enabling can reveal enemy shadows in ultimates |
| Corpses | Off | Improves visibility during revives |
| Enemy Highlight Color | Yellow (Deuteranopia) / High-contrast | Stands out against most backgrounds |
| Minimap Vision Cones | On | Clear teammate sightlines |
| Show Map Region Names | Always | Better callouts |
Most high-level players run everything on low, though some keep bloom or shadows on for specific agent utility. For example, certain recon abilities are actually easier to track with bloom enabled, so think about your agent pool before turning it off completely.
Enemy highlight color is another setting you should change immediately. Switching from default red to yellow (using the Deuteranopia filter) makes enemy models pop instantly against almost every map background. It is a small change, but the difference is night and day.
Anti-aliasing and bloom are worth testing yourself. Some players like MSAA 2x because it cleans up jagged edges on enemy models, while others prefer the raw frame boost of turning it off. Spend a few minutes in the shooting range and see what feels best for your eyes.
Turning Corpses off is a massive help when you have a Sage on your team. It stops dead bodies from blocking your view during a revive, preventing easy kills for the enemy.
Mouse and sensitivity
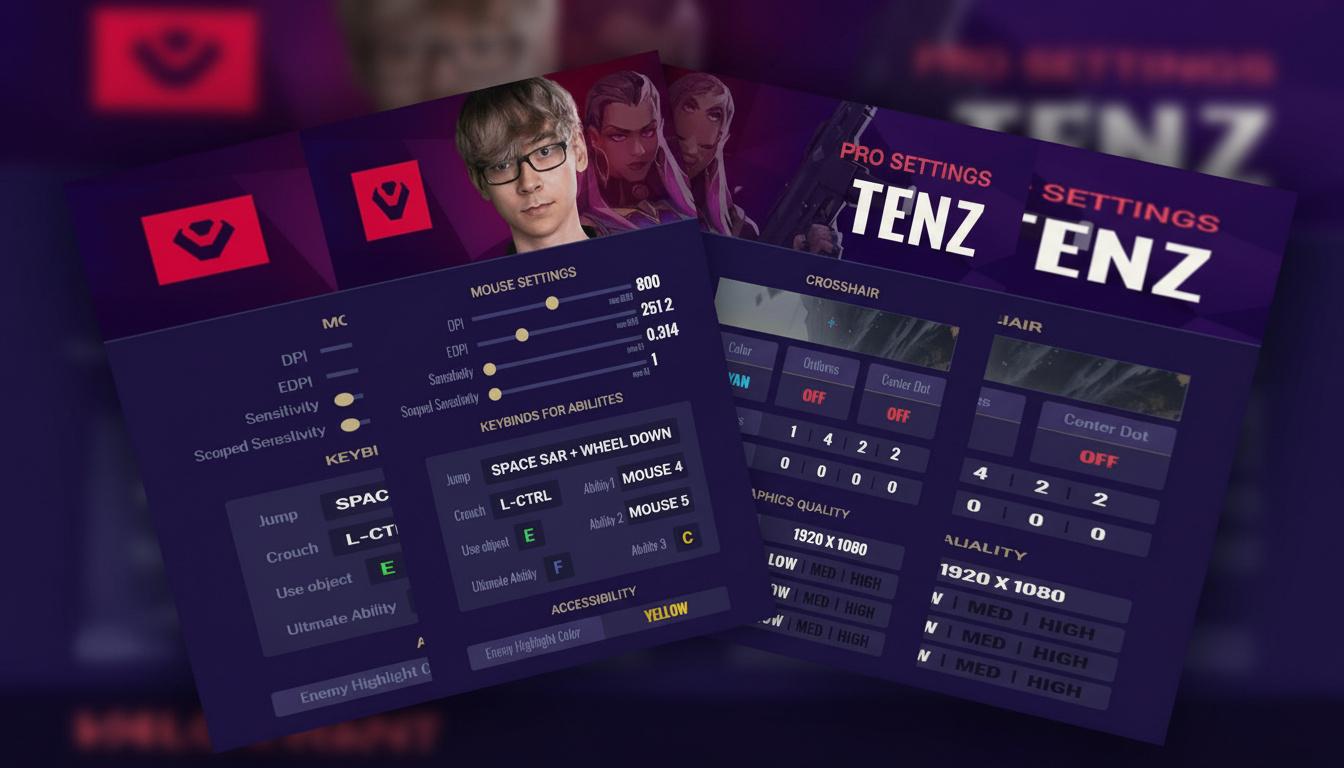
Finding the right sensitivity is everything when it comes to building muscle memory. Most pros lean toward a lower DPI and in-game sensitivity combo, and it all comes down to one number: eDPI.
eDPI (effective DPI) is your mouse DPI multiplied by your in-game sensitivity. This is the only number that actually matters when comparing setups. For example, playing at 400 DPI with 0.67 sensitivity is the exact same physical hand movement as playing at 800 DPI with 0.335 sensitivity.
| Setting | Recommended Value | Notes |
|---|---|---|
| Mouse DPI | 400 or 800 | Most common among pros |
| In-game Sensitivity | 0.3-0.5 | Adjust for comfort; lower is more precise |
| eDPI | 250-320 | Pro average around 267; avoid going above 400 |
| Scoped Sensitivity | 1.0 | Consistent aim when scoped |
| Polling Rate | 1000Hz (or higher if supported) | Higher = lower input delay; 4000Hz+ for some high-end mice |
| Raw Input Buffer | On | Reduces mouse delay |
| Windows Mouse Acceleration | Off ("Enhance pointer precision" unchecked) | Prevents inconsistent aim |
Here are a few practical tips for dialing in your aim:
- Make tiny adjustments-tweak your sensitivity by 0.02 or 0.03 at a time, and stick with it for a week before changing it again. Your brain needs time to build muscle memory.
- Try the 180-degree test: Swipe your mouse from one side of your pad to the other. If you cannot do a full 180-degree turn, your sensitivity is probably too low for your desk space.
- Your role matters: Duelists often run a slightly higher eDPI because they need to flick and clear deep angles quickly. Controllers and Sentinels usually prefer a lower eDPI for steady, precise crosshair placement.
- Turn off Windows mouse acceleration. Go to your Windows mouse settings, click "Additional Mouse Settings," head to the "Pointer Options" tab, and uncheck "Enhance pointer precision." If you leave this on, your cursor moves further the faster you swipe, which completely ruins your consistency.
eDPI is the easiest way to compare your sensitivity with other players. If your aim feels shaky, try lowering your sensitivity and spending some time tracking bots in the practice range.
Crosshair linkout
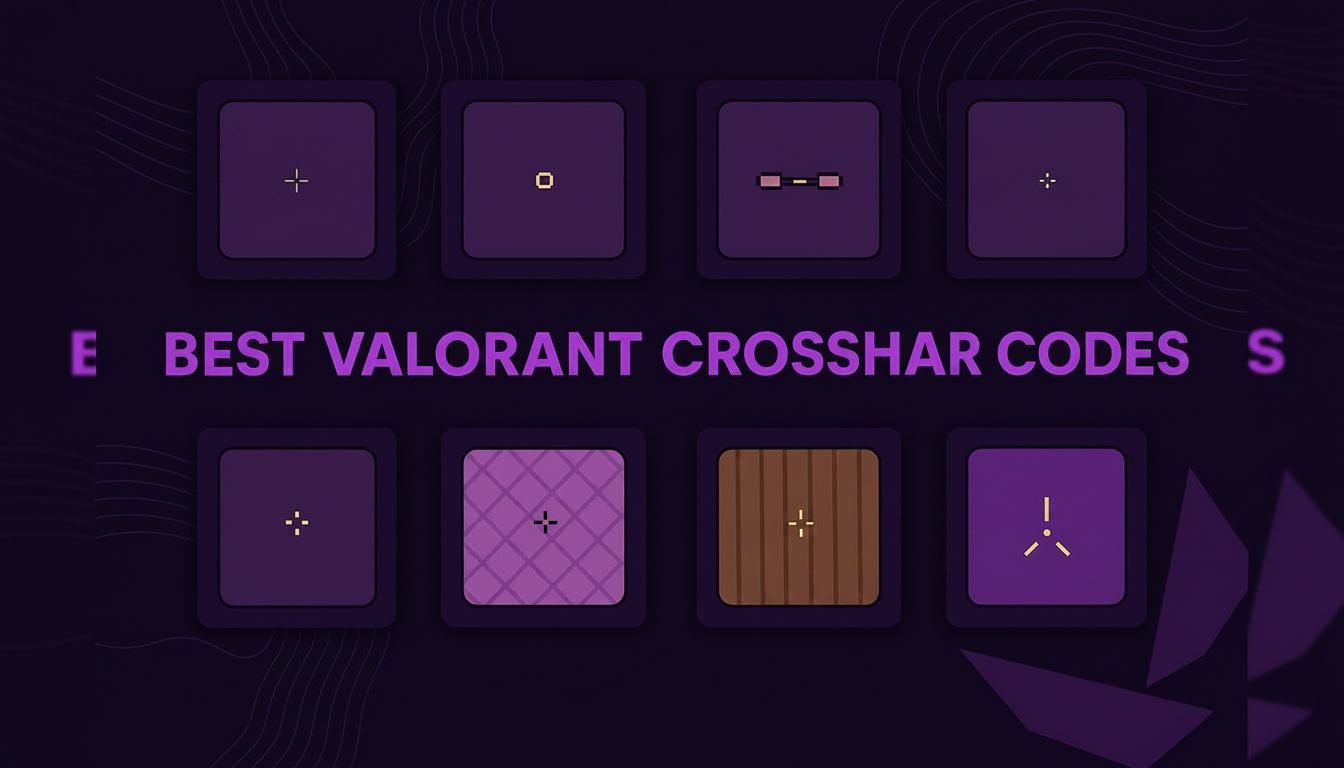
A clean, static crosshair is key for consistent aiming. While movement and firing error indicators might seem helpful when you are learning the game, they just add visual noise right when you are trying to control your spray.
| Setting | Recommended Value |
|---|---|
| Crosshair Style | Static |
| Color | Green, Cyan, White, or Yellow (high-contrast) |
| Outlines | Off or Thin |
| Center Dot | Off |
| Inner Lines | Length 4, Thickness 2, Gap 2 |
| Outer Lines | Off |
| Movement/Firing Error | Off |
Most pros stick to a small, static crosshair with no extra movement lines. Pick a color that stands out on every map-something that works on Ascent might get lost on the brighter areas of Bind.
Pro crosshair import codes (Go to Settings → Crosshair → Import Profile Code and paste):
- TenZ:
0;s;1;P;c;5;h;0;m;1;0l;4;0o;2;0f;0;1b;0;S;c;5;o;1 - Scream:
0;s;1;P;c;5;o;1;d;1;z;3;f;0;0t;6;0l;0;0a;1;0f;0;1b;0;S;c;6;s;0.949;o;1 - Boaster:
0;s;1;P;c;1;o;1;d;1;0l;0;0o;2;0a;1;0f;0;1t;0;1l;0;1o;0;1a;0;S;c;1;o;1 - Shroud:
0;s;1;P;o;0;f;0;0b;0;1l;10;1o;6;1a;1;1m;0;1f;0 - aspas:
0;s;1;P;c;5;o;1;d;1;0l;3;0o;1;0a;1;0f;0;1b;0 - Demon1:
0;P;c;5;h;0;0l;4;0o;0;0a;1;0f;0;1b;0
These are great templates to start with. Grab one, tweak the size or color to your liking, and leave it alone so you can get used to it. For a deeper dive into setups, check out our Valorant best crosshair guide.
Audio and minimap
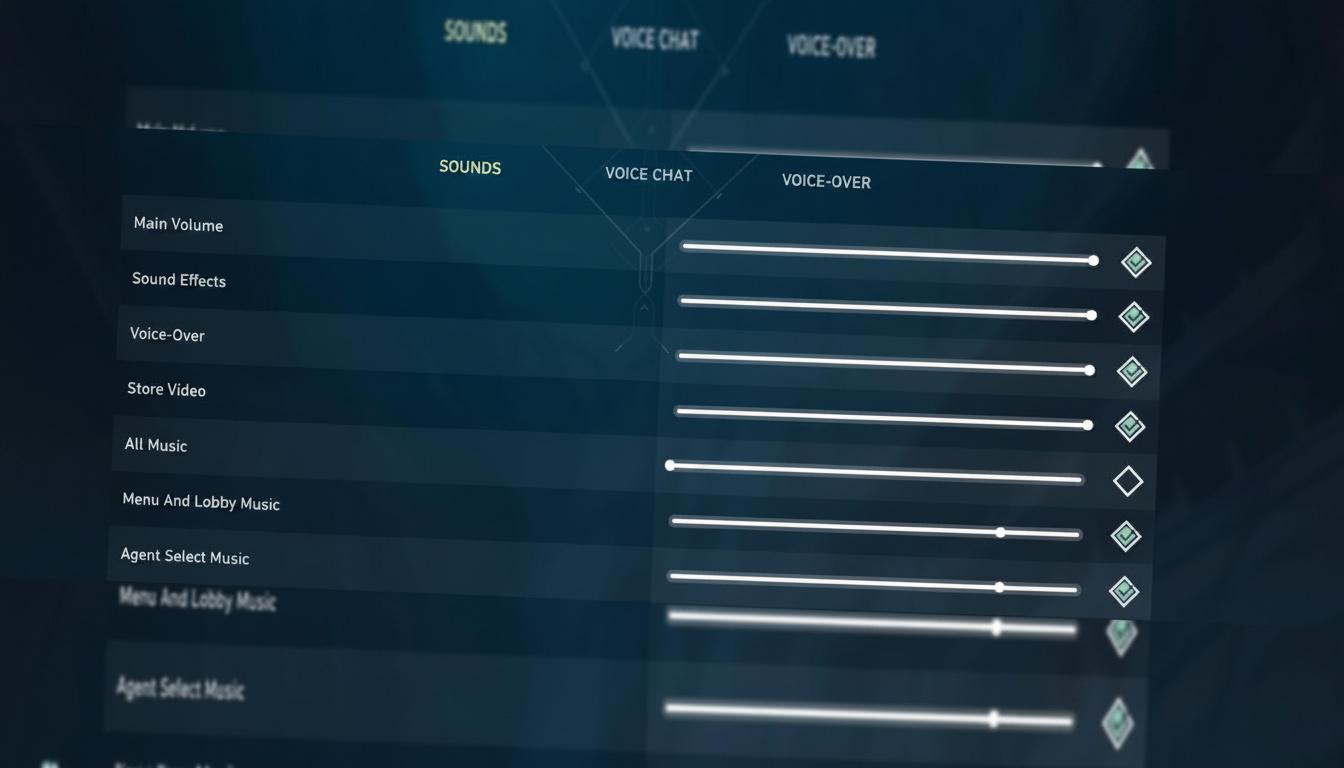
Audio and minimap settings are massive for your overall game sense, yet players ignore them all the time. Getting these right will win you rounds off information alone.
Audio settings
| Setting | Recommended Value | Notes |
|---|---|---|
| Speaker Configuration | Stereo | Avoid surround emulation |
| HRTF | On | Improves directional cues |
| Sound Effects Volume | 100% | Ensures footsteps are clear |
| Voice-Over/Dialogue | 50% or lower | Reduces distractions |
| Music Volume | 0% | Prevents masking important sounds |
| Voice Chat | Push — to-Talk, comfortable level | Avoids background noise |
| Third-party 3D audio | Off | Prevents conflicts with Valorant HRTF |
Turn off all third-party 3D audio software. This includes Dolby Atmos, Windows Sonic, or any virtual surround sound built into your headset's software. These programs clash with Valorant's native HRTF system, making it harder to pinpoint exactly where footsteps are coming from. HRTF works best when it is left alone.
Keep Sound Effects at 100% so you never miss a quiet footstep, and drop the music to 0% so you do not have lobby tunes drowning out clutch moments.
Minimap settings
| Setting | Recommended Value | Notes |
|---|---|---|
| Rotate | On | Aligns minimap with player view |
| Keep Player Centered | Off or On | Both are viable; Off shows more map area |
| Minimap Size | 1.1-1.2 | Larger for clarity |
| Minimap Zoom | 0.9 | Shows more of the map |
| Minimap Vision Cones | On | Shows teammate sightlines |
| Show Map Region Names | Always | Improves communication and callouts |
Set your minimap zoom to 0.9. This ensures the entire map fits on your screen even on larger maps like Lotus or Haven, meaning you can see rotations and flanks instantly without having to open the main map.
Keeping Vision Cones turned on is incredibly useful. It lets you see exactly what angles your teammates are holding in real-time, showing you where the gaps in your defense are.
Troubleshooting FPS and packet loss
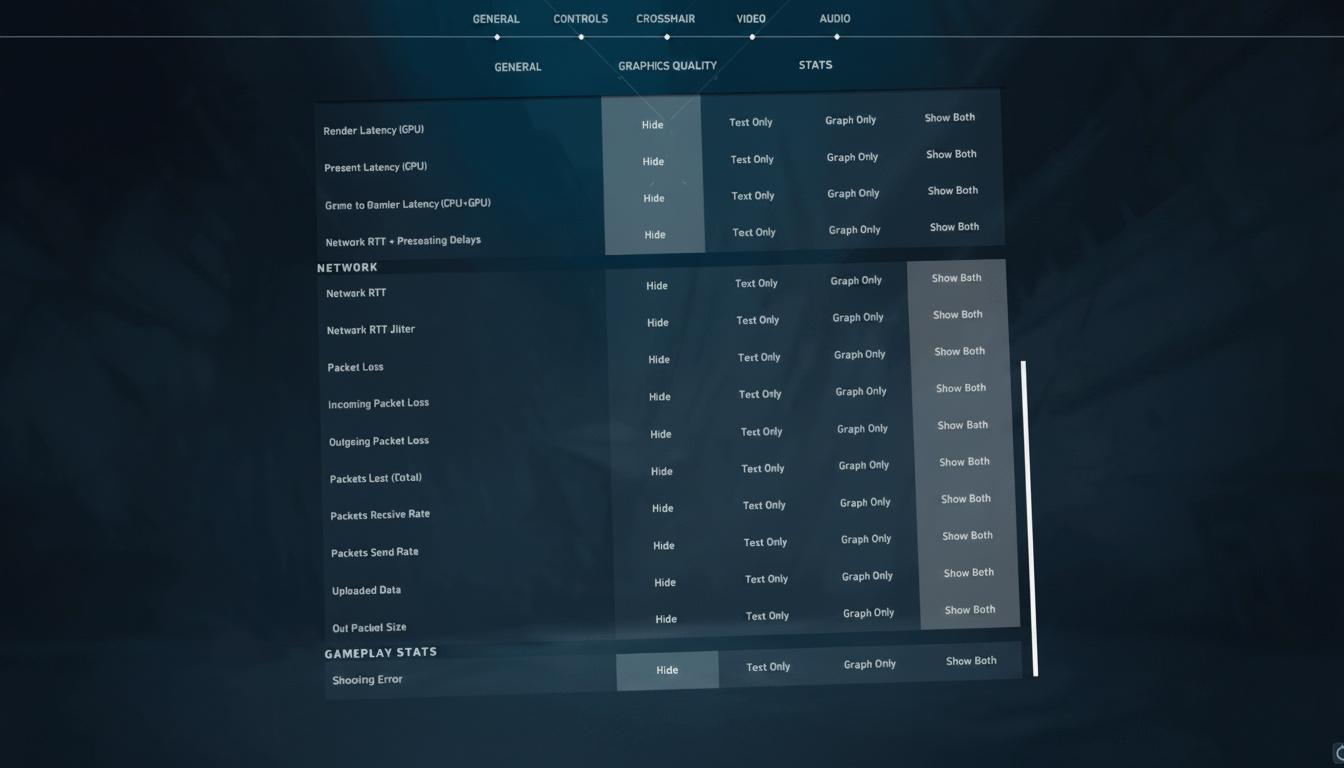
If your game is stuttering, dropping frames, or lagging, try these quick fixes before blaming your PC hardware. Most of the time, a background setting is the culprit.
FPS troubleshooting
- Sudden FPS drops mid-game: Keep an eye on your CPU and GPU temps. If they are pushing past 90°C, your hardware is likely thermal throttling. Clean out your PC fans or look into better airflow.
- Stuttering despite high average FPS: This is usually a RAM issue. Make sure your RAM sticks are in the correct dual-channel slots and that XMP/EXPO is enabled in your BIOS. Running single-channel RAM kills your frame consistency.
- Input lag with Reflex enabled: Turn off background overlays. Discord, Xbox Game Bar, and Steam overlays all inject themselves into the game and can cause noticeable input delay.
- Low FPS on low settings: Close out of heavy background apps. Valorant relies heavily on your CPU, so anything running in the background will eat into your frames.
- Quick system tweaks:
- Turn on Game Mode in Windows.
- Set your Windows power plan to High Performance.
- Keep your GPU drivers updated.
- Add your Valorant folder to your antivirus exclusion list.
Packet loss troubleshooting
- Ditch the Wi-Fi and plug in an Ethernet cable. This fixes almost every packet loss issue instantly.
- Close background downloads. Make sure Steam, battle.net, or streaming apps aren't hogging your bandwidth while you play.
- Restart your router and PC. It sounds basic, but a fresh connection clears up most random routing hiccups.
- Turn on network stats in-game (Settings → Video → Stats → Network RTT / Packet Loss) to see if your connection is actually dropping packets or if it is just a temporary server issue.
- If you want a complete walkthrough on fixing connection issues, check out our Valorant packet loss fix guide.
Optimizing your Valorant best settings won't instantly make you a Radiant player, but it removes the friction between your inputs and the game. Lock down your eDPI, set your graphics for maximum frames, and adjust your audio so you can actually hear what is happening around you. Every small tweak adds up when you are fighting for RR.