The right crosshair in Valorant can make a massive difference-not just for your headshot percentage, but for how quickly you spot targets and how comfortable you feel during long sessions. This guide pulls together practical, copy-paste presets, valid import codes, and clear advice on building the Valorant best crosshair for your specific playstyle, whether you're brand new or grinding ranked. Before diving in, it's worth pairing your crosshair work with a full Valorant best settings tune-up for the biggest overall performance boost.
Best crosshair presets
The goal here is simple: a curated set of high-performing presets covering a wide range of playstyles and skill levels. Every code below is ready to copy and drop straight into the import field-chosen specifically for visibility, precision, and comfort.
The best crosshair is one you never lose track of mid-fight and that doesn't sit on top of your target like a wall. Small, clean, and high-contrast-those three qualities matter more than anything else.
| Name / Type | Crosshair Code | Color | Style | Best For |
|---|---|---|---|---|
| Pro Cyan Lines | 0;P;c;5;h;0;0t;1;0l;2;0o;2;0a;1;0f;0;1b;0 |
Cyan | Lines | All maps, tracking |
| Minimal Dot | 0;P;c;5;o;1;d;1;z;1;f;0;0b;0;1b;0 |
Cyan | Dot | Precision, headshots |
| High-Contrast Red | 0;P;c;8;o;1;d;1;b;1;0b;0;1b;0 |
Red | Lines | High-visibility maps |
| Clean White | 0;P;h;0;0l;2;0v;2;0o;1;0a;1;0f;0;1b;0 |
White | Lines | Dark maps, contrast |
| Pro Player: TenZ | 0;s;1;P;c;5;h;0;m;1;0l;4;0o;2;0a;1;0f;0;1b;0 |
Cyan | Lines | All-round competitive |
| Pro Player: Derke | 0;P;c;8;o;1;d;1;b;1;0b;0;1b;0 |
White | Lines | Aggressive entry |
| Pro Player: Aspas | 0;P;c;8;b;1;t;1;o;0.5;z;2;a;1;0t;2;0l;3;0v;3;0o;2;0a;1;0s;1;0e;1;1t;2;1l;2;1v;2;1o;10;1a;0.35;1s;1;1e;1;u;FF0000;d;0;h;0;0g;0;1g;0;0f;0;1f;1;0m;0;1m;1;0b;1;1b;0;m;0 |
Red | Hybrid | Pro tracking |
| Pro Player: Zekken | 0;P;c;8;b;1;t;2;o;1;z;2;a;1;0t;2;0l;2;0v;2;0o;0;0a;1;0s;1;0e;1;1t;2;1l;2;1v;2;1o;10;1a;0.35;1s;1;1e;1;u;FFFFFF;d;1;h;1;0g;0;1g;0;0f;0;1f;1;0m;0;1m;1;0b;0;1b;0;m;0 |
White | Hybrid | Precision + tracking |
| Neon Green Lines | 0;P;c;5;h;0;0t;1;0l;3;0o;1;0a;1;0f;0;1l;3;1o;1;1a;1;1m;0;1f;0 |
Neon Green | Lines | Beginner visibility |
| Outlined Cyan | 0;P;c;1;o;1.000;0a;1.000;0l;2;0t;1;0o;2;0f;0;1b;0 |
Green | Lines | Competitive, outlined |
Two presets stand out for most players: Pro Cyan Lines and Minimal Dot. The cyan line version is small, clean, and visible on almost every map surface without eating into your field of view. The dot works best once your aim is dialed in — it demands more precision from you, but removes every trace of visual noise.
Copying a pro's crosshair is a solid starting point. That said, what works on a pro streamer's 240Hz monitor might feel wrong on yours — your screen brightness, resolution, and personal sensitivity all shift what "visible" actually means in practice.
You can import any crosshair code in Valorant's settings-just copy the code, open the Crosshair tab, and paste it into the import field.
Crosshair codes
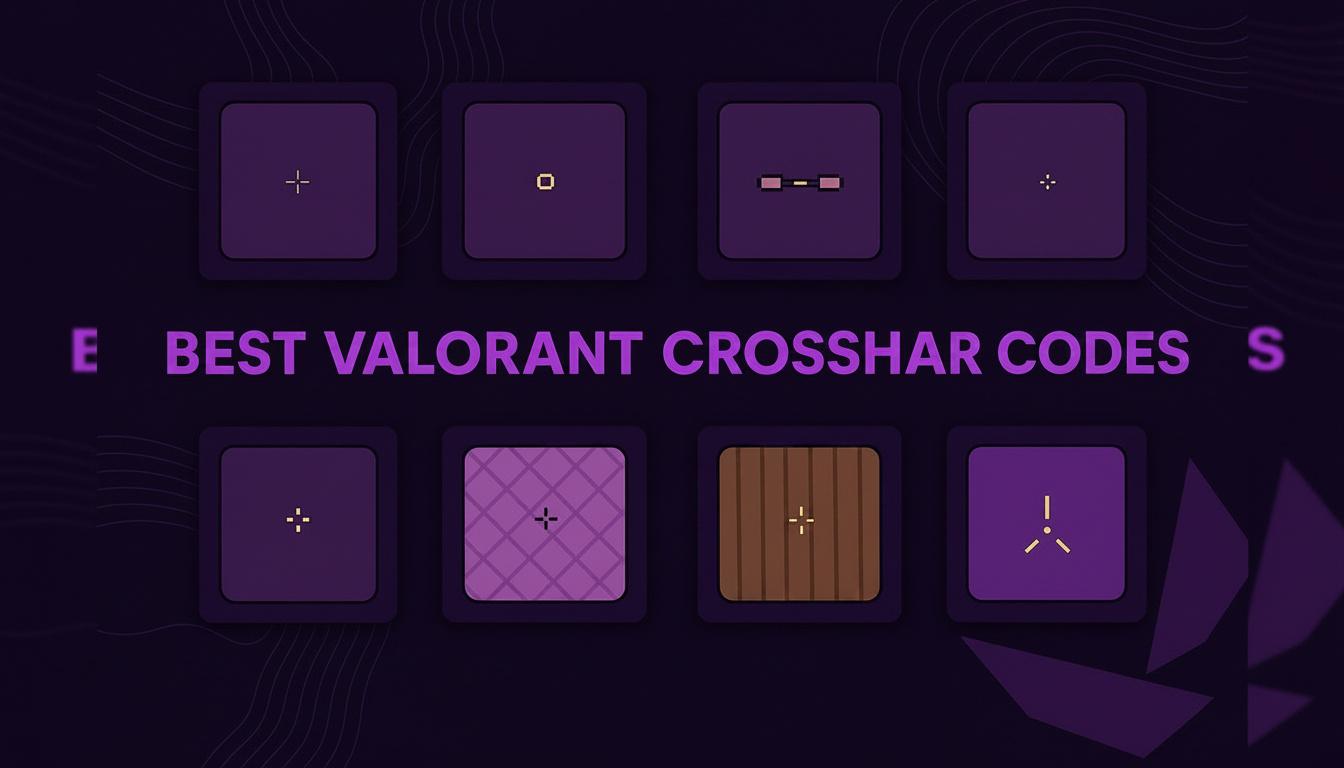
Every code in this section can be pasted directly into the game's import field for instant results. The list covers a broad spread of styles and colors so you can find something that clicks right away.
| Name / Type | Import Code | Color | Style |
|---|---|---|---|
| Neon Green | 0;P;c;5;h;0;0t;1;0l;2;0o;2;0a;1;0f;0;1t;1;1l;2;1o;2;1a;1;1m;0;1f;0 |
#00FF00 | Lines |
| Sky Blue | 0;P;c;5;h;0;0t;1;0l;3;0o;1;0a;1;0f;0;1t;1;1l;3;1o;1;1a;1;1m;0;1f;0 |
#00B5FF | Lines |
| Bright Red | 0;P;c;5;h;0;0t;1;0l;1;0o;1;0a;1;0f;0;1t;1;1l;1;1o;1;1a;1;1m;0;1f;0 |
#FF0000 | Lines |
| Clean White | 0;P;c;5;o;1;d;1;z;1;f;0;0t;1;0l;1;0o;1;0a;1;0f;0;1t;1;1l;1;1o;1;1a;1;1m;0;1f;0 |
#FFFFFF | Lines |
| Deep Purple | 0;P;c;5;h;0;0t;1;0l;4;0o;1;0a;1;0f;0;1t;1;1l;4;1o;1;1a;1;1m;0;1f;0 |
Purple | Lines |
| Minimal Dot | 0;P;c;5;o;1;d;1;z;1;f;0;0b;0;1b;0 |
Cyan | Dot |
| Pro: TenZ | 0;s;1;P;c;5;h;0;m;1;0l;4;0o;2;0a;1;0f;0;1b;0 |
Cyan | Lines |
| Pro: Derke | 0;P;c;8;o;1;d;1;b;1;0b;0;1b;0 |
White | Lines |
| Pro: Cned | 0;P;h;0;f;0;0l;5;0o;0;0a;1;0f;0;1b;0 |
White | Lines |
| Pro: Tarik | 0;P;c;8;b;1;t;1;o;1;z;2;a;1;0t;1;0l;1;0v;1;0o;0;0a;1;0s;1;0e;1;1t;2;1l;2;1v;2;1o;10;1a;0.35;1s;1;1e;1;u;FFFFFF;d;1;h;1;0g;0;1g;0;0f;0;1f;1;0m;0;1m;1;0b;0;1b;0;m;0 |
White | Hybrid |
| Googly Eyes | 0;P;c;8;t;2;o;1;d;1;b;1;z;3;a;0;0t;5;0l;16;0v;0;0g;1;0o;11;0a;0;0f;0;1t;3;1l;6;1v;0;1g;1;1a;1;1s;0.102;1e;0.309 |
White | Novelty |
High-contrast colors-cyan, red, neon green, white-consistently perform best across all map lighting conditions. They don't blend into walls, they don't disappear against bright skies, and they hold up in both dimly lit corridors and open outdoor areas.
Experiment. Seriously. What looks great in a screenshot can feel uncomfortable after 30 minutes of ranked play. Load each code into a custom game and take it for a real spin before committing.
Most popular hex color codes for crosshairs:

00FF00- Neon Green
00B5FF- Light Blue
FFFFFF- White
FF1493- Bright Pink
00FFFF- Cyan
FF0000- Red
How to choose a crosshair
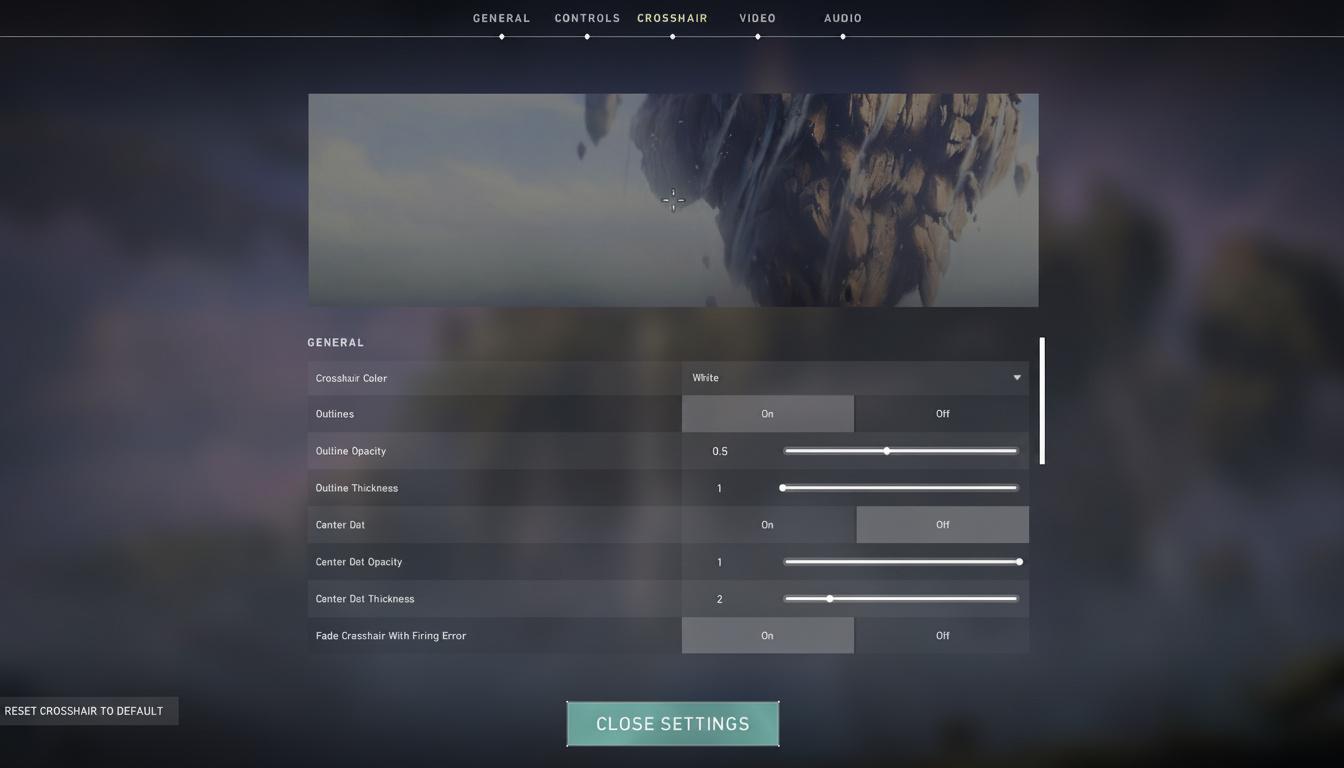
Choosing the right setup is about finding the balance between visibility, precision, and comfort-not just copying whatever your favorite pro uses.
Key factors to think through:
- Color: Cyan and red cover almost every map without blending in. Avoid yellow on Bind or green on Breeze-they disappear into the environment.
- Size: Small enough that it doesn't sit on top of your target's head, large enough that you never lose it in a chaotic fight.
- Thickness: Thin lines give you cleaner precision for tight headshots. Slightly thicker lines are easier to track during spray.
- Outlines: Turn them on for extra contrast on bright or cluttered maps-even a thin outline dramatically improves readability.
- Center Dot: Useful for pinpoint aim; some players find it distracting. Try both.
- Movement / Firing Error: Leave these off. A static crosshair is almost universally preferred-dynamic movement indicators add visual noise without meaningful benefit.
Crosshair settings explained
Understanding each setting removes the guesswork from customization:
- Outline: A thin border around the crosshair that improves contrast against bright backgrounds.
- Center Dot: A single pixel point at the exact center-great for headshot precision.
- Inner Lines: The four main lines of the classic crosshair shape. Control length, thickness, and gap.
- Outer Lines: Secondary lines further from the center-often used for spray feedback, but most experienced players disable them.
- Movement Error: Makes the crosshair expand when you're moving. Useful for beginners to learn, but distracting at higher levels.
- Firing Error: Expands the crosshair when you shoot. Same story-helpful early on, turn it off eventually.
Step-by-step setup:
- Open Valorant and go to Settings.
- Click the Crosshair tab.
- Select the Primary profile.
- Choose a color-use the custom hex field for specific codes.
- Adjust inner line length, thickness, and offset to match your preference.
- Enable or disable outlines depending on your map rotation.
- Test in a custom game to confirm visibility and comfort before taking it into ranked.
Maps shift your crosshair's readability more than most people expect. Breeze's bright, sandy palette eats green crosshairs. Split's darker corridors can swallow deep blue. Running a high-contrast color like cyan or red removes most of those per-map concerns entirely.
Dot vs lines
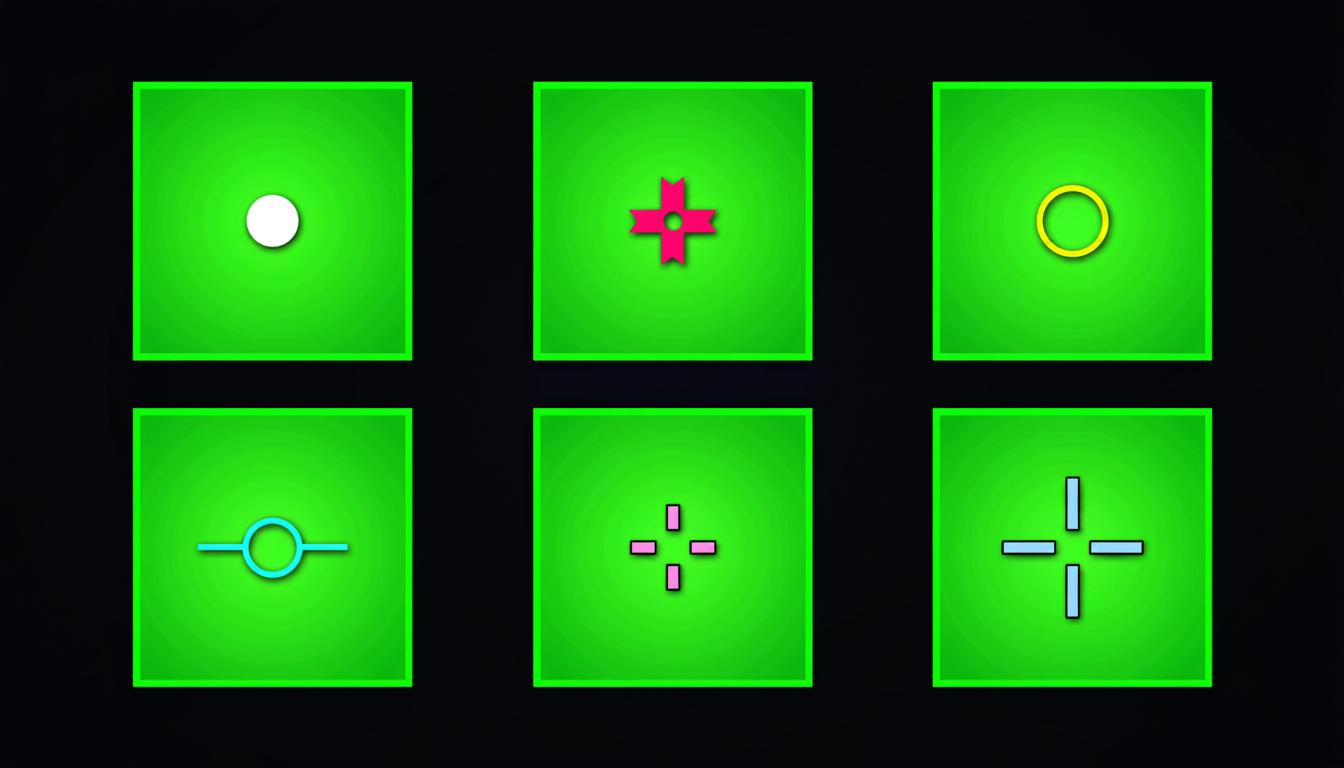
The dot vs. cross debate is one of the most common discussions in Valorant communities — and honestly, both have real merit depending on how you aim.
| Type | Pros | Cons | Best For |
|---|---|---|---|
| Dot | Maximum precision; zero visual clutter; ideal for headshots | Hard to spot on some backgrounds; less spray feedback | Experienced players; micro-adjustment aiming |
| Lines (Cross) | Easy to track; helps with spray control; visible on varied surfaces | Can partially obscure targets; feels cluttered if too thick | Beginners; players wanting visual feedback |
| Hybrid (Dot + Lines) | Combines precision point with tracking reference | Slightly more screen space used | Players who want both benefits; popular among pros |
Beginners should lean toward a simple line or hybrid crosshair first. The lines give you a visual reference for where you're aimed even in chaotic situations, which helps while you're still building muscle memory. Once your aim starts feeling consistent and natural, that's the right time to experiment with shrinking down to a dot.
There's no universal "best" shape. Plenty of top-ranked players use dots; plenty use thick cross setups. The only version that's wrong is the one you can't see or can't stop thinking about mid-fight.
Beginner crosshair
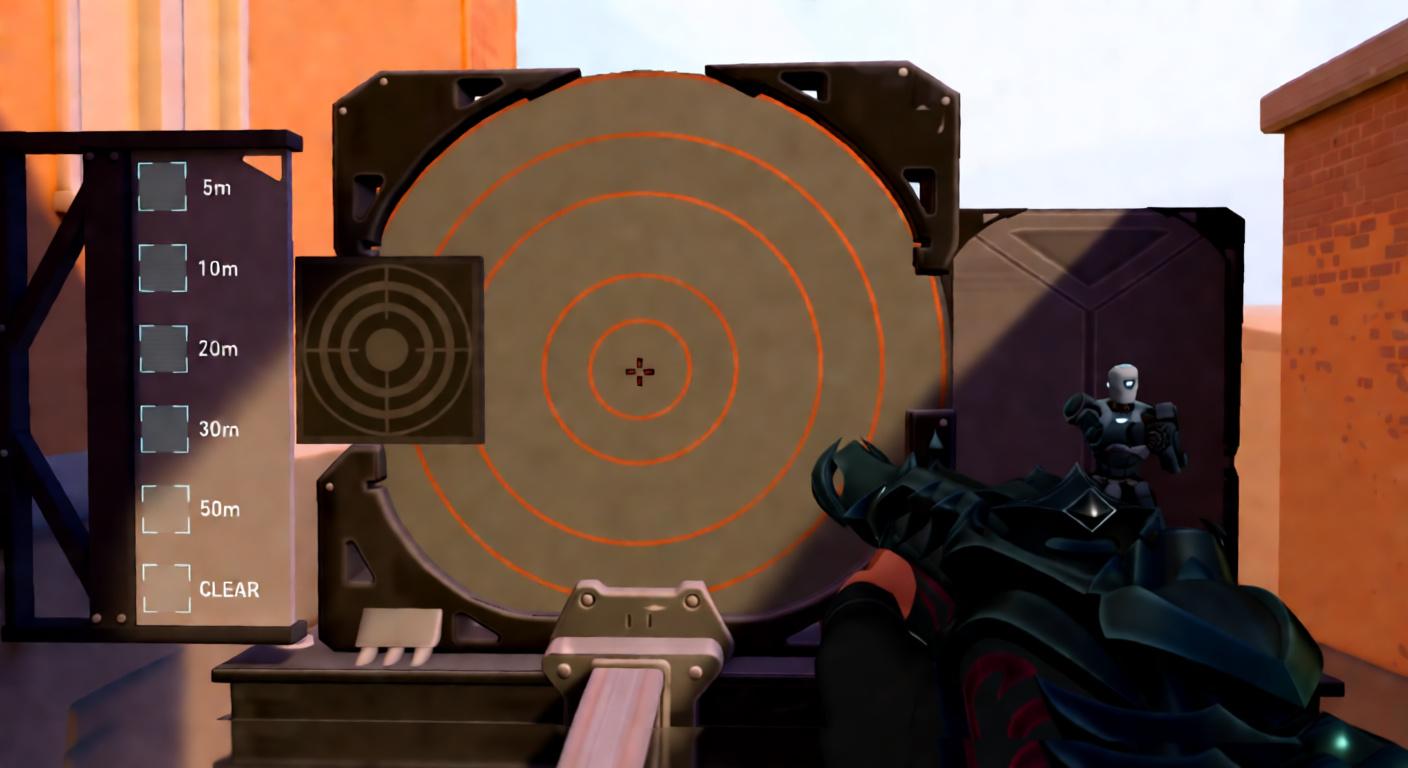
New players should start simple and visible-not flashy, not complex. The crosshair's only job at this stage is to tell you exactly where your gun is pointing without distracting you from the actual game.
Three beginner-friendly presets:
- Simple Cyan Lines -
0;P;c;5;h;0;0t;1;0l;2;0o;2;0a;1;0f;0;1b;0- Cyan, Lines. Small and clean, visible on almost every surface, won't cover what you're aiming at. - Minimal White Cross -
0;P;h;0;0l;2;0v;2;0o;1;0a;1;0f;0;1b;0- White, Lines. No-frills white cross with a short length-easy to track and low distraction. - Beginner Dot -
0;P;c;5;o;1;d;1;z;1;f;0;0b;0;1b;0- Cyan, Dot. A minimal dot for players ready to push their precision focus from the start.
Quick checklist for beginners:
- Use a bright, high-contrast color (cyan or white work well right away)
- Keep lines thin and short so they don't block enemies
- Enable outlines for extra visibility on busy backgrounds
- Stay away from novelty crosshairs-they look fun, aren't useful in real matches
- Test every change in practice mode before jumping into competitive
Starting with a simple, visible crosshair helps you focus on learning aim and movement fundamentals-rather than fighting your own HUD to find targets.
Common mistakes
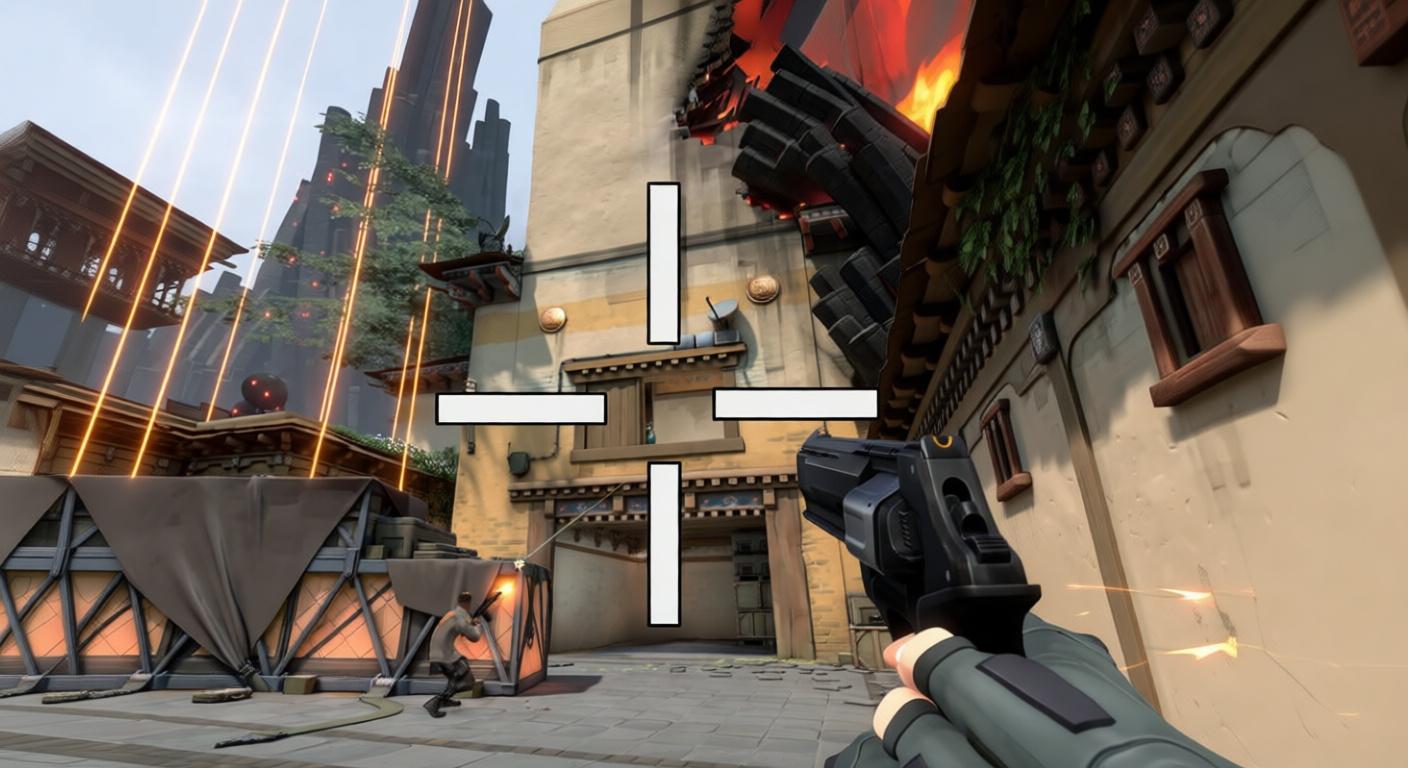
Many players waste hours switching crosshairs and getting nowhere because they're making the same avoidable errors repeatedly.
The most frequent problems:
- Picking colors that blend into maps - Yellow on Bind, green on Breeze, dark blue on Split. These colors vanish into the environment exactly when you need them most.
- Lines too thick or too long - A crosshair that's wider than an enemy's head is actively hurting your aim. Keep lines short (2-4) and thin (1-2 thickness).
- Forgetting outlines - On bright maps, a crosshair without an outline can become nearly invisible. A thin outline at low opacity costs nothing but saves plenty.
- Leaving movement or firing error on - Your crosshair bouncing around constantly is visual noise. Turn both off and trust your instincts about spray timing.
- Never testing across multiple maps - A crosshair that looks perfect on Ascent might be nearly invisible on Breeze. Spend a few minutes in different map environments before locking it in.
- Overcomplicating with novelty shapes - Googly eyes are funny in a clip, useless in a close-range duel. Save them for highlights, not ranked.
- Importing codes incorrectly - Copy the full code string exactly, open the Crosshair tab in Settings, and use the dedicated import field. Missing a single character breaks the whole preset.
Always take a new crosshair into a custom game or the practice range before loading into a ranked match. Thirty seconds of testing there prevents a full session of fighting your own settings.
Switching crosshairs every few games to chase "the perfect one" is one of the biggest consistency killers-pick something reasonable, commit to it for at least a week, then evaluate.
Related settings
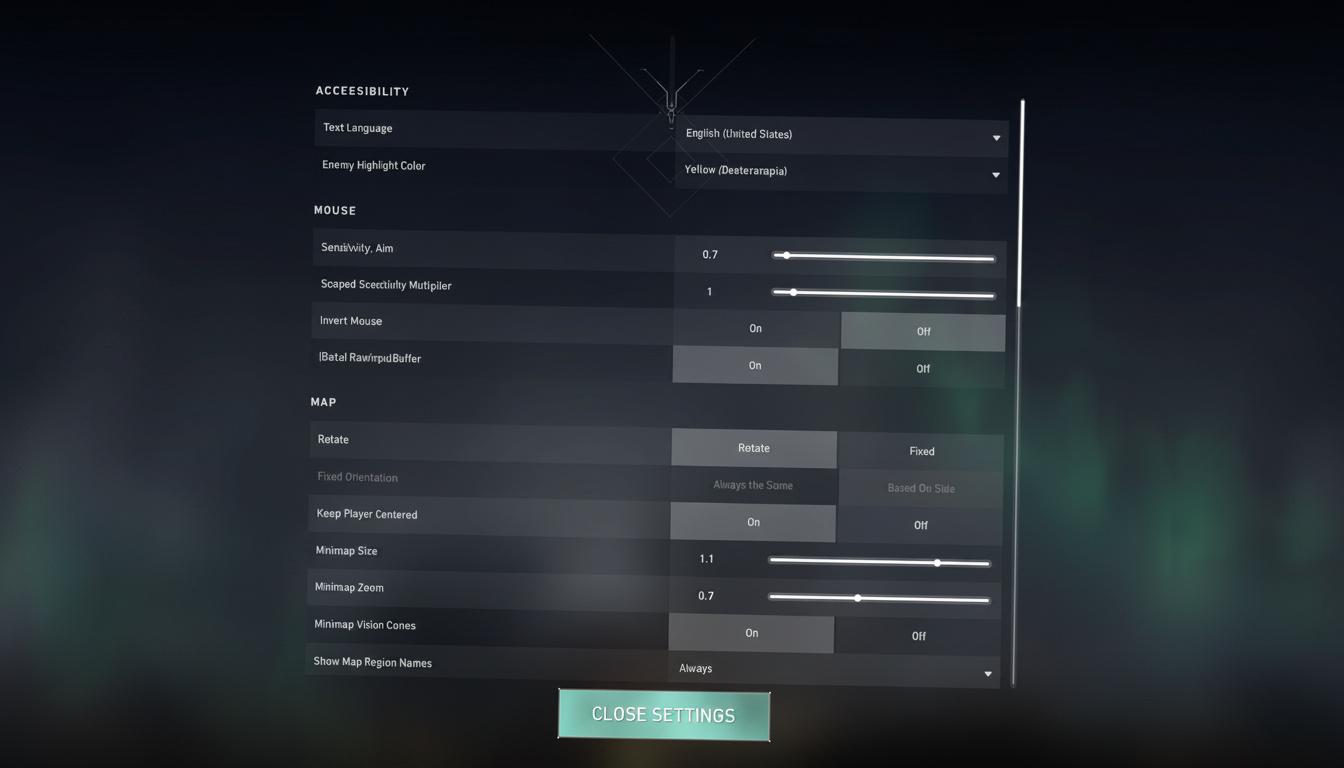
Your crosshair is one piece of a larger puzzle. Getting it right helps, but combining it with solid overall settings makes the full difference.
- Valorant agent tier list - know which agents are worth investing time into right now
- Valorant beginner guide - everything new players need to get started on the right foot
- Valorant packet loss fix - network stability matters as much as crosshair precision